
Configuring Service Provider Metadata in Aruba ClearPass Policy Manager
This procedure describes the configuration steps required for setting up Aruba ClearPass Policy Manager as an IdP.
Before you Begin
Go through the SAML SSO feature description to understand how SAMLSecurity Assertion Markup Language. SAML is an XML-based framework for communicating user authentication, entitlement, and attribute information. SAML enables single sign-on by allowing users to authenticate at an identity provider and then access service providers without additional authentication. framework works in the context of Aruba Central.
Ensure that you have access to the ClearPass Policy ManagerClearPass Policy Manager is a baseline platform for policy management, AAA, profiling, network access control, and reporting. With ClearPass Policy Manager, the network administrators can configure and manage secure network access that accommodates requirements across multiple locations and multivendor networks, regardless of device ownership and connection method. instance.
Ensure that you have downloaded the SAML metadata from Aruba Central.
Steps to Configure ClearPass Policy Manager as an IdP
To configure ClearPassClearPass is an access management system for creating and enforcing policies across a network to all devices and applications. The ClearPass integrated platform includes applications such as Policy Manager, Guest, Onboard, OnGuard, Insight, Profile, QuickConnect, and so on. as an IdP for providing SAML authentication and authorization services to Aruba Central, complete the following steps:
To configure an IdP service:
1. Go to Configuration Identity > Single Sign On.
2. Select . The page opens.
3. Click the tab.
4. Enter a Name Prefix. This prefix will be used to name all of the services and enforcement policies/profiles created by the wizard.
5. Click . The tab opens.
6. Select an authentication source.
7. Click . The tab opens.
8. Click .
9. Click .
To configure an enforcement policy:
1. From >>.
2. Click to a new enforcement policy.
3. Select the enforcement policy and click .
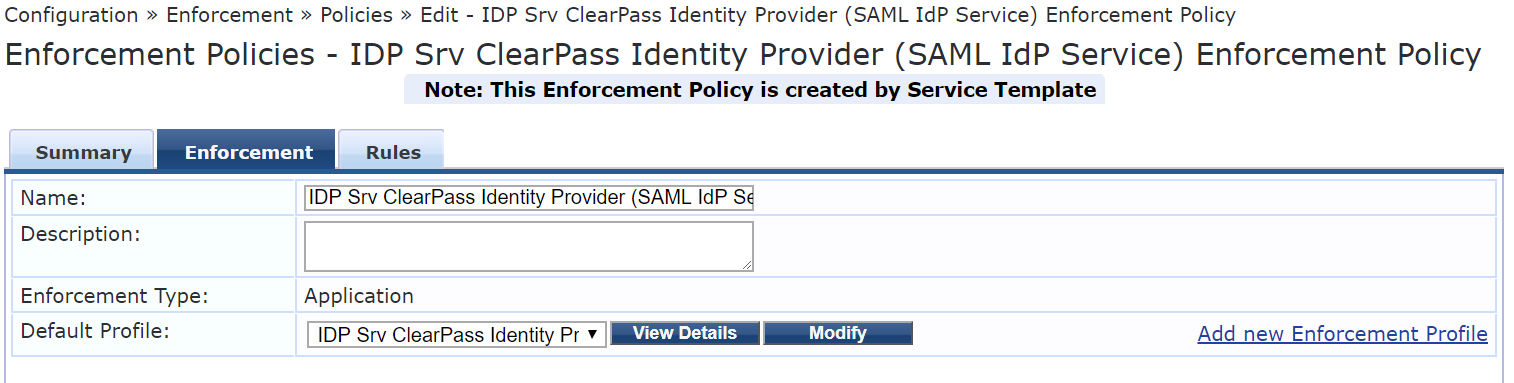
4. Click the tab and click to edit the default profile.
5. In the edit enforcement profile wizard screen, click the tab.
6. Configure the attributes as shown in the following figure:

7. Click .
8. In the Edit enforcement policies wizard screen, click the tab and add the rules.

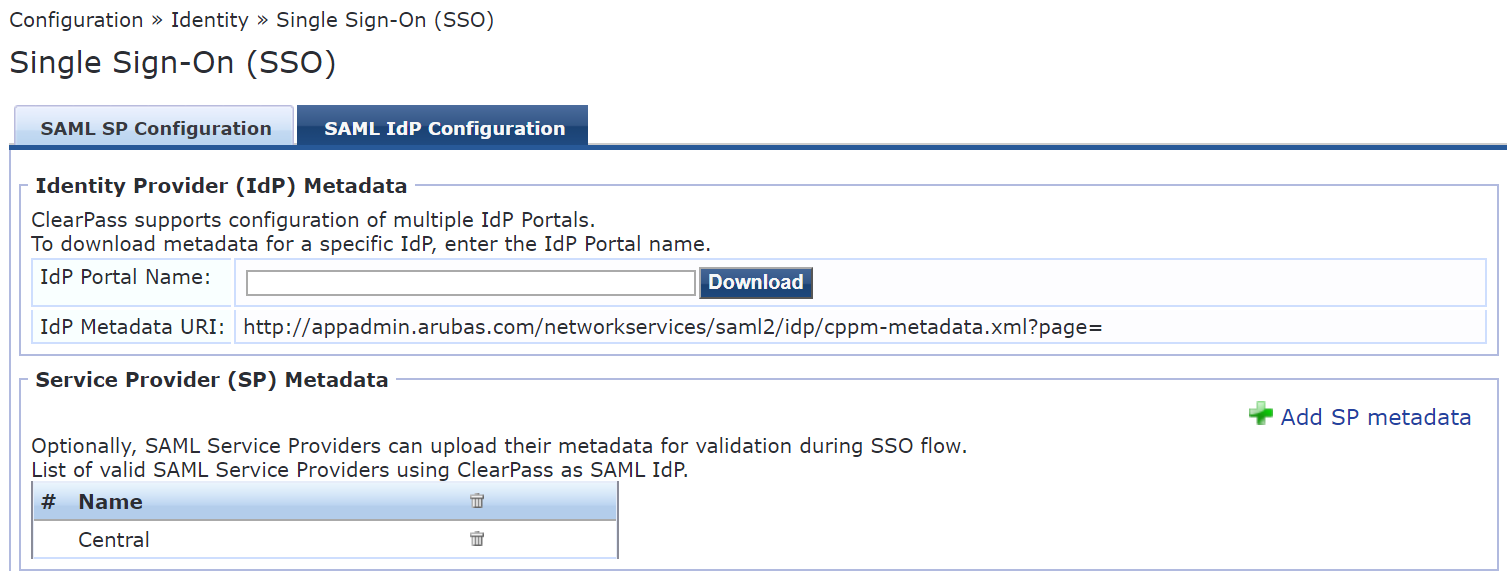
1. In the page, under , click . The page opens.
2. Select the SAML authorization profile configured for the ClearPass IdP service, click , and download the metadata.
3. To upload SP metadata, go to >>.
4. Click tab, and click .
5. Set the SP name as Aruba Central and select the metadata file and click .
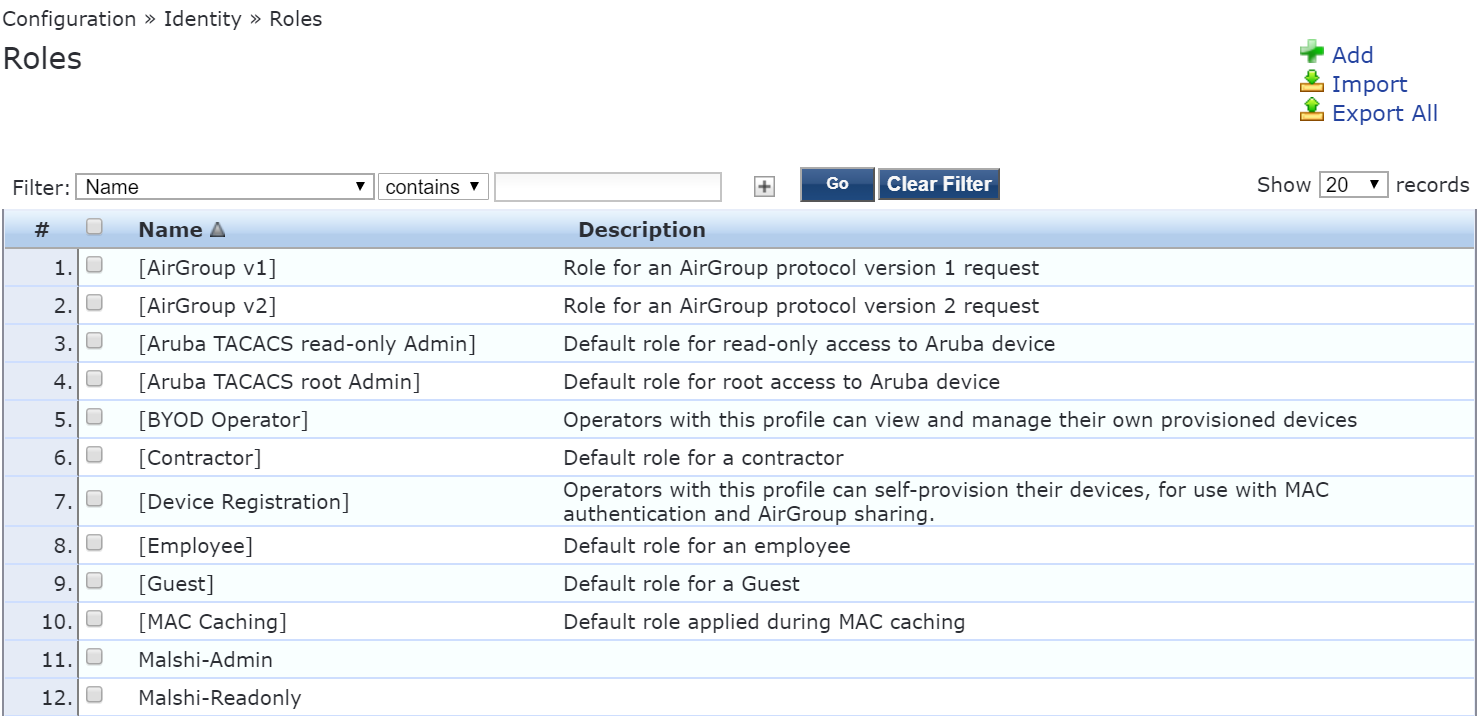
To add a user role:
1. Go to >> .
2. Add the roles and click .
1. Go to >.
2. Select the IdP service created for Aruba Central.
3. Click .
4. Click the tab.
5. Add a service rule.
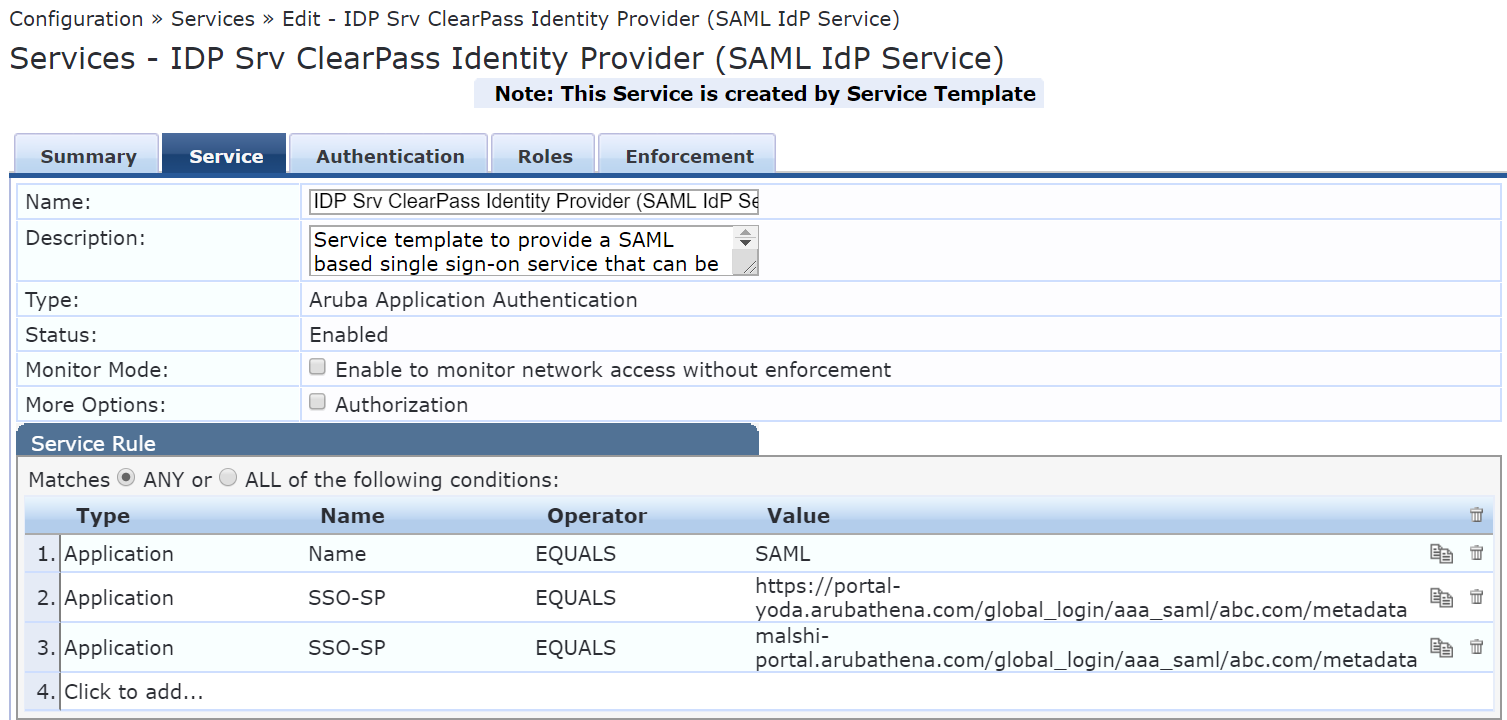 .
.
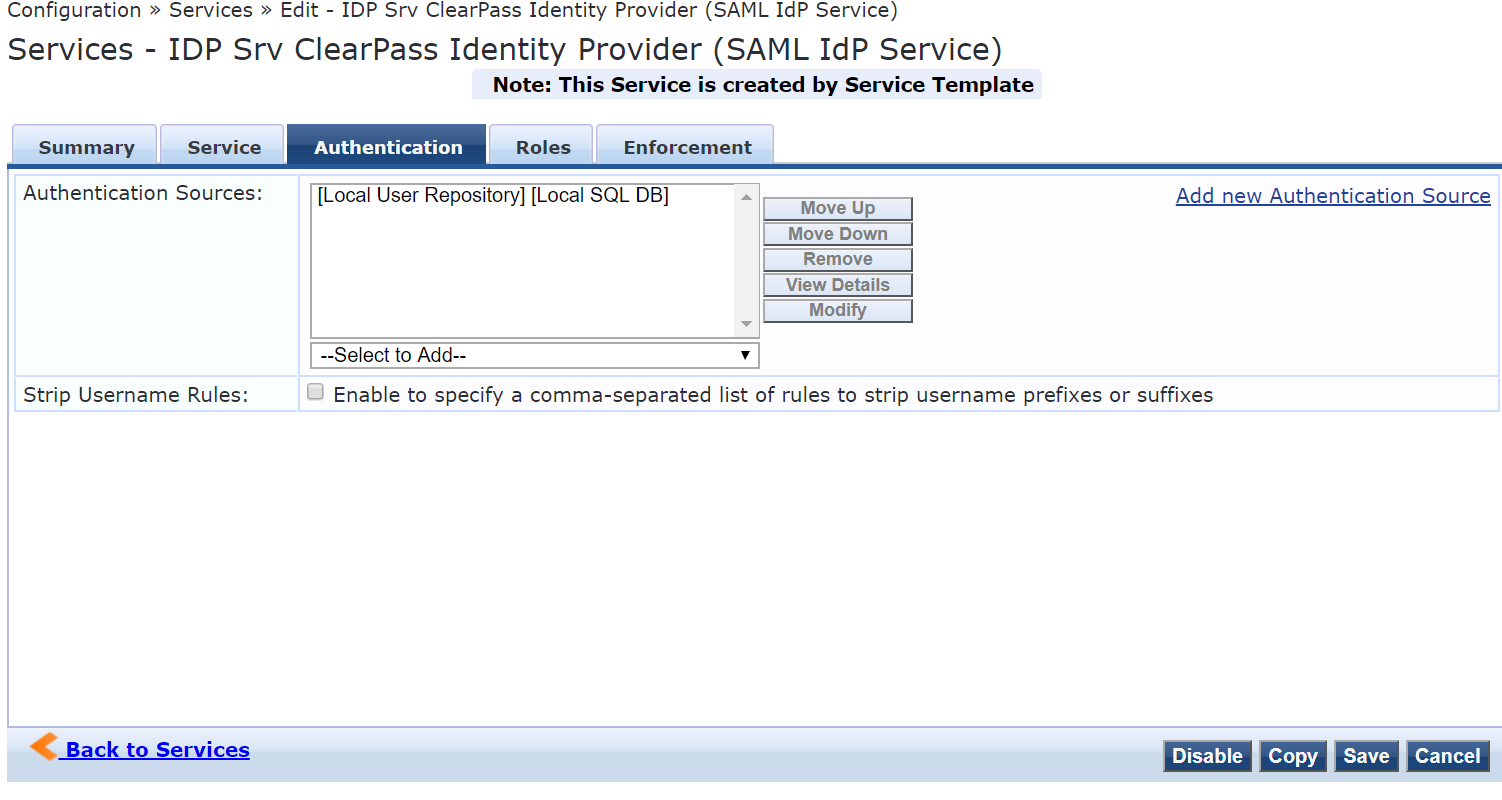
6. Click the tab and add the authentications source.
7. Click the tab. Add a role mapping policy.
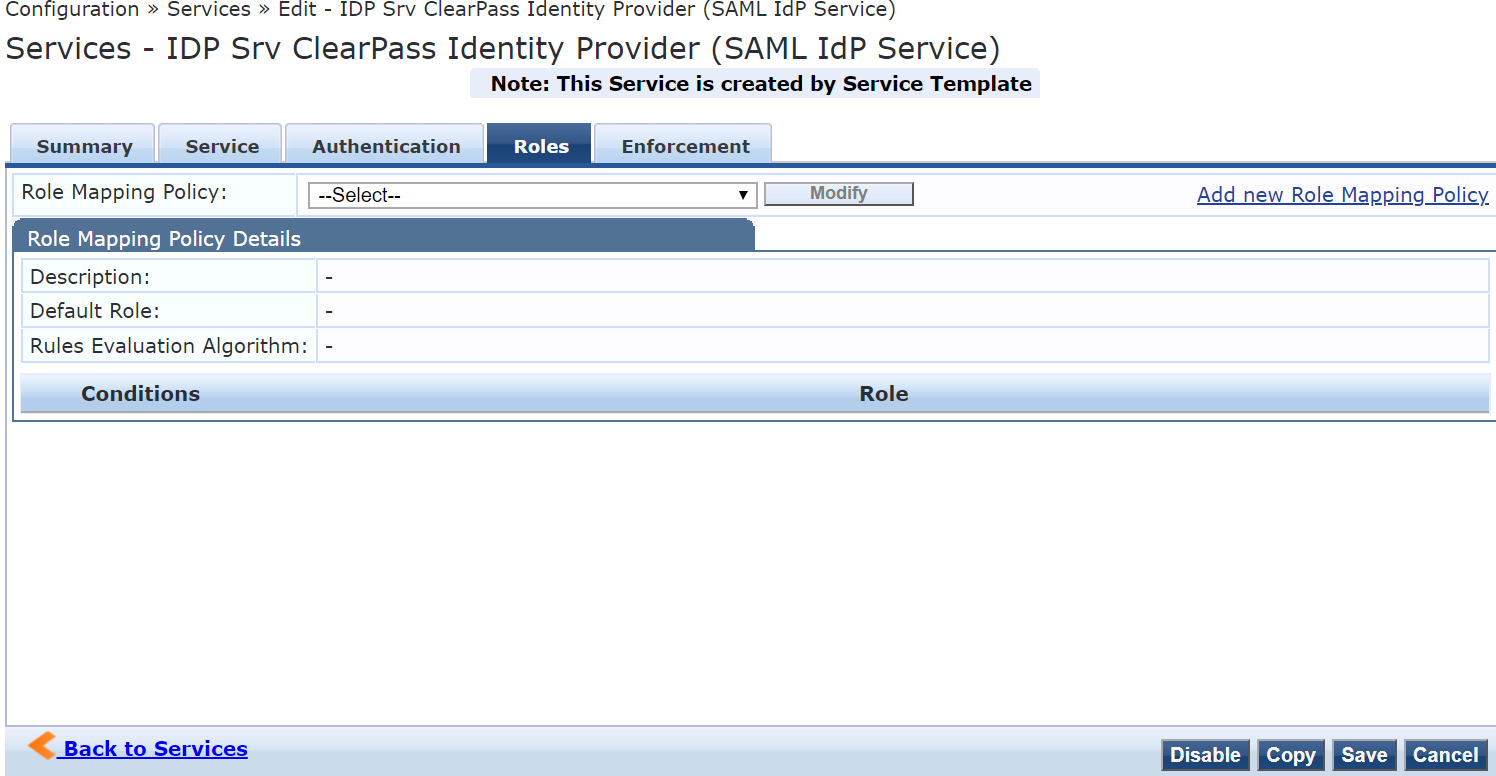
8. Click the tab and ensure that service name and default profile are selected.
To add users:
1. Go to >>.
2. Add users.
For information on how to configure a SAML authorization profile, see Configuring SAML Authorization Profiles in Aruba Central.
