
Migrating the AirWave Server
Important Information for Migration
The following are the requirements and guidelines for the migration process:
- The AirWave system must be running a minimum AirWave version of 8.2.8.2 for the migration to proceed. If the AirWave system is running an earlier version, refer to the AirWave documentation to upgrade the version to 8.2.8.2 or later versions.
- Only those APs, controllers, and switches that are supported in Aruba Central (on-premises) are migrated. For information on supported hardware, see Supported Platforms section.
- As part of migration, Visual RFRadio Frequency. RF refers to the electromagnetic wave frequencies within a range of 3 kHz to 300 GHz, including the frequencies used for communications or Radar signals. and the device inventory for CAPs, IAPs, controllers, and Aruba/HPE switches are migrated.
- For controllers, the device credentials for SNMPSimple Network Management Protocol. SNMP is a TCP/IP standard protocol for managing devices on IP networks. Devices that typically support SNMP include routers, switches, servers, workstations, printers, modem racks, and more. It is used mostly in network management systems to monitor network-attached devices for conditions that warrant administrative attention. and HTTPSHypertext Transfer Protocol Secure. HTTPS is a variant of the HTTP that adds a layer of security on the data in transit through a secure socket layer or transport layer security protocol connection. profiles are mapped.
- Migration of multiple AirWave systems to a single Aruba Central (on-premises) server is supported. That is, you can migrate multiple AirWave systems to Aruba Central (on-premises) by adding the IP addresses or AMPAirWave Management Platform. AMP is a network management system for configuring, monitoring, and upgrading wired and wireless devices on your network. Hostnames of each AirWave system individually.
- All the historical data including data related to reports, monitoring, and stats are not migrated from Airwave to Aruba Central (on-premises) during the migration process.
- Templates are not migrated from Airwave to Aruba Central (on-premises) during the migration process. You must manually create a new template in Aruba Central (on-premises) based on the requirement.
- All data related to VisualRF is migrated from Airwave to Aruba Central (on-premises) during the migration process.
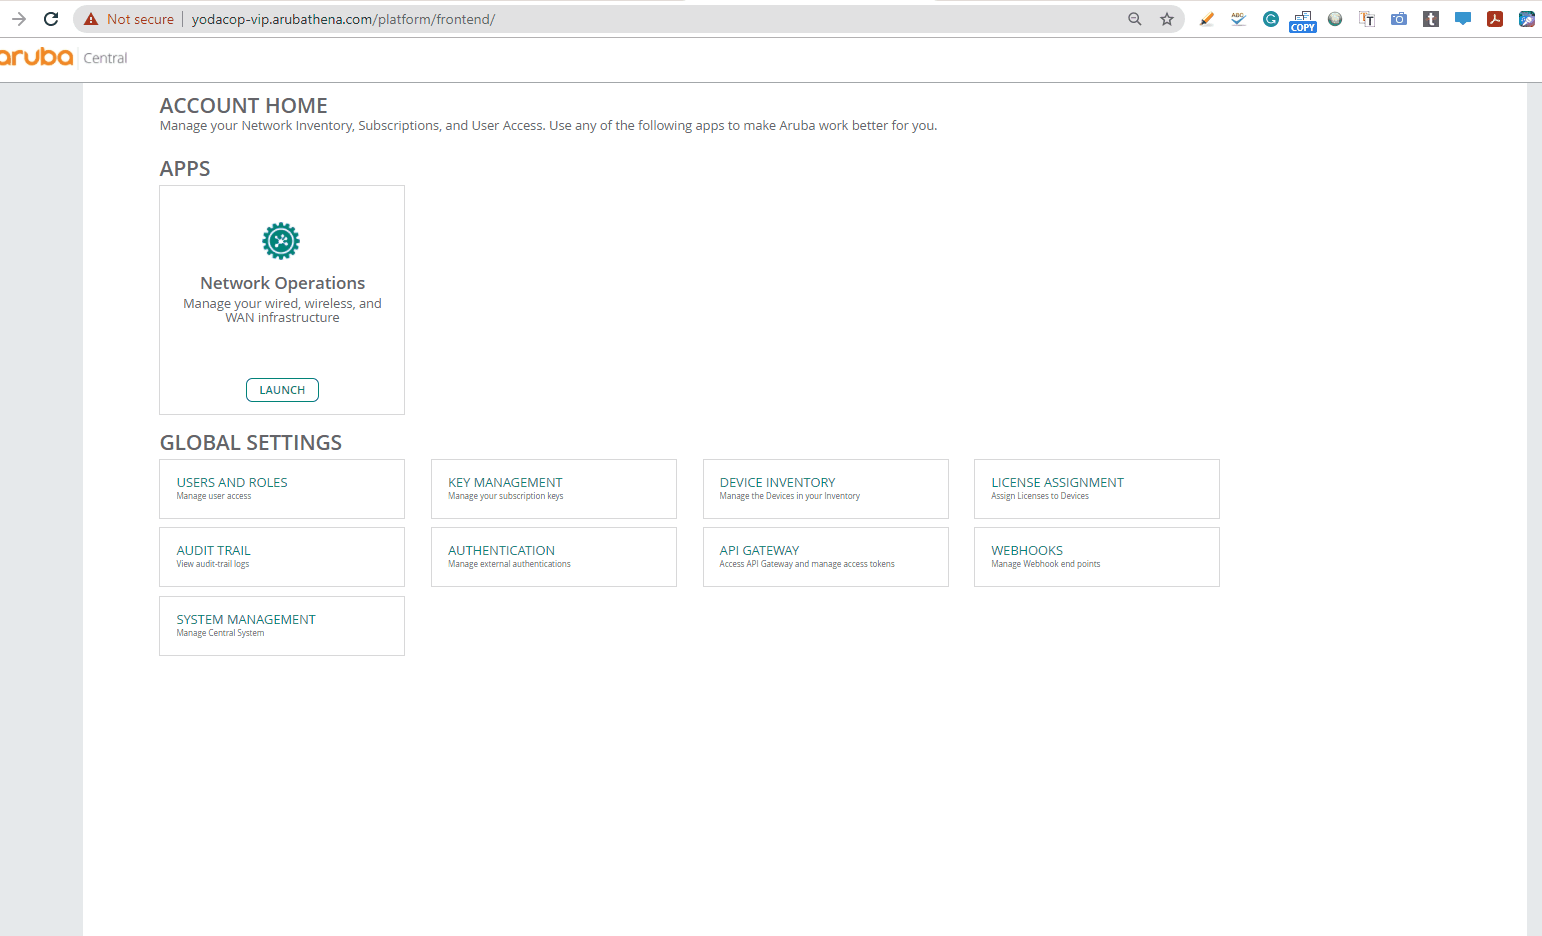
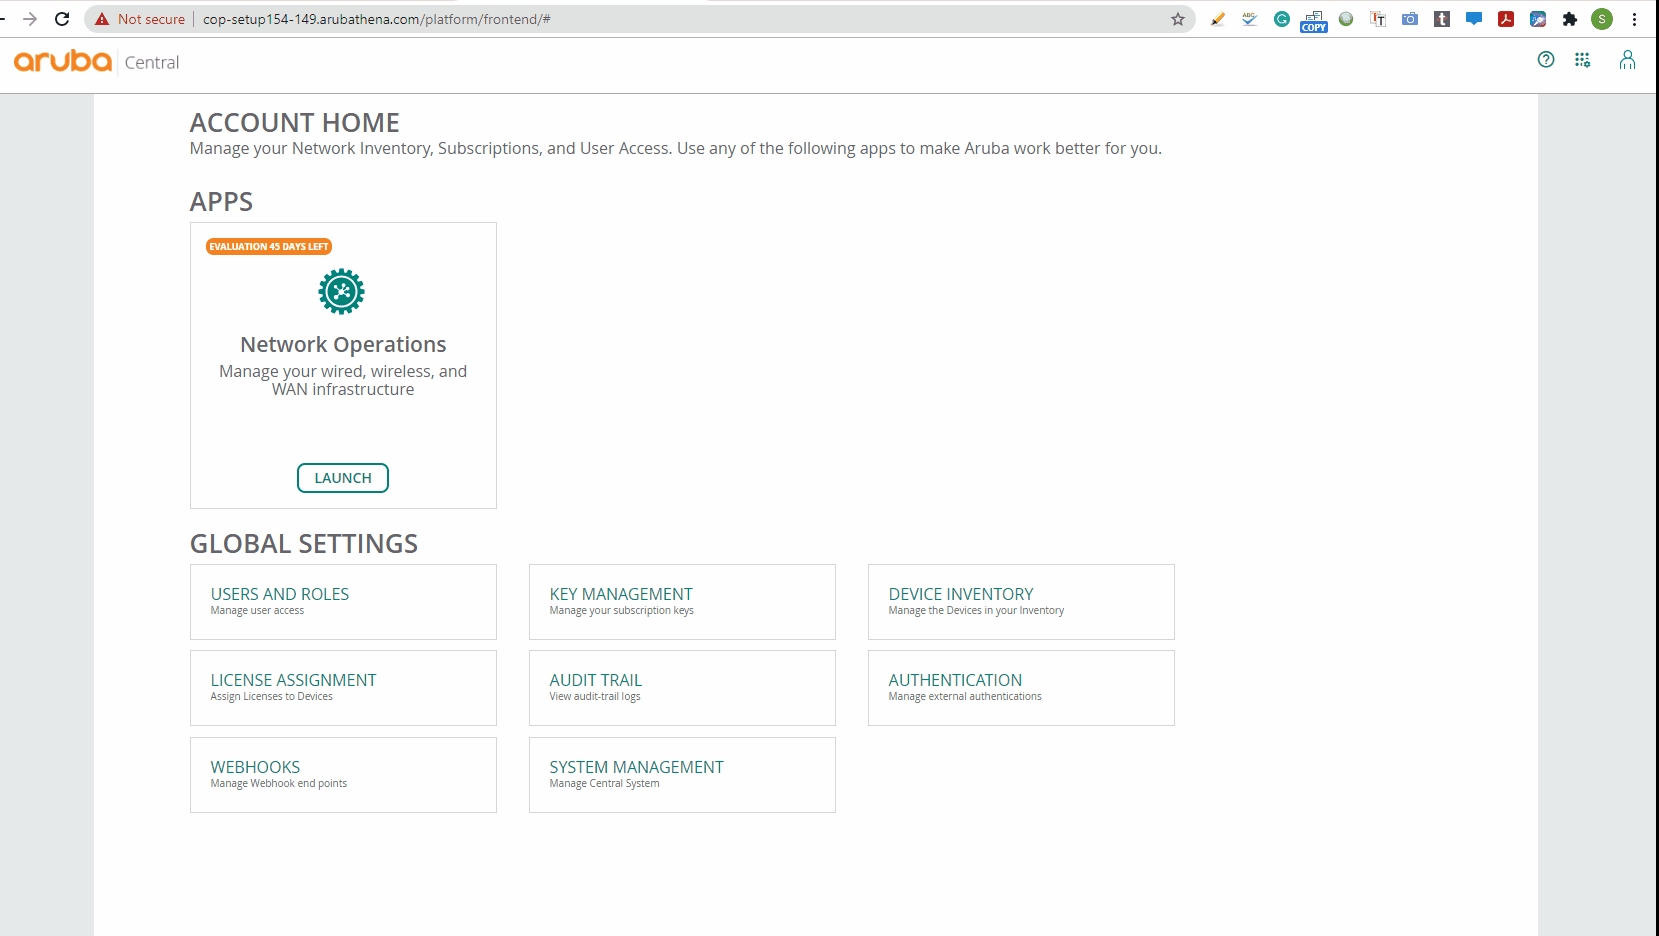
Accessing the Migration Page
To access the migration page, perform the following procedure:
- Log in to your Aruba Central (on-premises) account as an administrator.
- Click the page icon.
The Account Home page is displayed.
- Click >
- Click the tab.
The migration page is displayed.

During the migration process, a new AMP back up is created in AirWave and transferred to the Aruba Central (on-premises). The scheduled nightly backup is independent of the backup operation performed as a part of the migration process.
Following table lists the tab details:
Table 1: Migration Parameters
Name
Description
FQDNFully Qualified Domain Name. FQDN is a complete domain name that identifies a computer or host on the Internet. or IP address of the AMP.
Indicates if the migration is ongoing, failed, or successful. For more information, see Migration Status and Migration Descriptions.
Displays the ongoing step in the migration process. For example, the Description column provides information
You can hover over the Provides a summary of the migration activity occurring during migration. Following are some of the messages displayed:
- Number of devices existing on Aruba Central (on-premises)
- Number of devices on AirWave 8.x
- Number of devices to migrate
- Number of devices successfully migrated
- Number of devices failed to migrate
Allows you to restart the migration process by clicking the restart
 icon. You can also delete an AMP from the migration table by clicking the delete
  icon.
icon. - Click the tab at the top right corner of the table to add a new migration task. For more information, see Performing the Migration.
Performing the Migration
First you need to add the AirWave server that is running the older software version to Aruba Central. After the migration process completes, the Device Inventory page becomes available.
Aruba Central (on-premises) supports both offline and online migration.
Online Migration
When you begin the migration, the Aruba Central server establishes a connection with the AirWave server using the information you provide on the Migration page.
To perform an online migration, perform the following steps with an Internet connection:
- Log in to your Aruba Central (on-premises) account as an administrator.
- Click the page icon.
The Account Home page is displayed.
-
Click >
- Click the tab to display the Migration page.
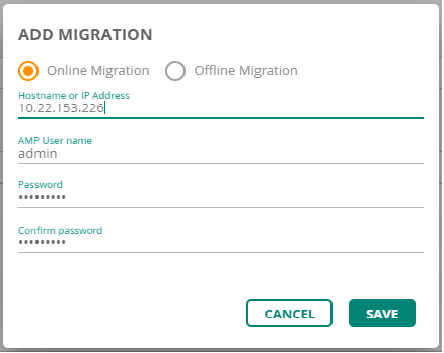
- Click in the AirWave Migration table to display the Add Migration page.
- In the Add Migration page, select the Online Migration option.
- Enter the following details:
- —Enter the IP address of the AirWave Management Platform (AMP).
- During the migration process, a new AMP back up is created in AirWave and transferred to the Aruba Central (on-premises). The scheduled nightly backup is independent of the backup operation performed as a part of the migration process.
- —Enter the password associated with the administrative account.
- —Re-enter the password.
- Click to begin the migration process.
- You can add multiple IP addresses to migrate from multiple AirWave servers to one Aruba Central (on-premises) server. In this case, each AMP will be migrated sequentially one after another.
-
In the Airwave Migration table of the Migration page, the online migration entry has the
 ,
,  , and icons allowing you to edit, restart, and delete the migration respectively.
Figure 1 Add Migration Using Host Name
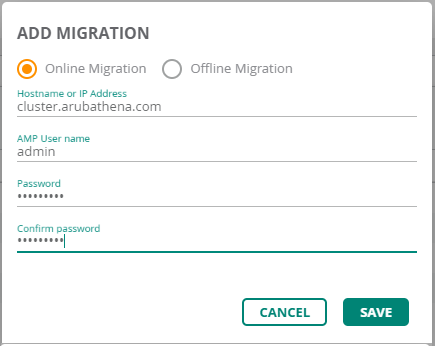
Figure 2 Add Migration Using IP Address
All system operations are disabled until the active system operation is complete. The migration, backup and restore, high availability processes, and the upgrade operations are the system operations in Aruba Central (on-premises).
You can not delete an AMP when the migration is in-progress.
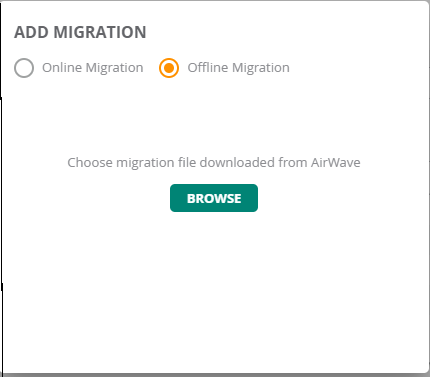
Offline Migration
In addition to the online migration, Aruba Central (on-premises)allows you to perform offline migration of the Device Inventory data and Visual RF data from AirWave to Aruba Central (on-premises) by uploading the backup file that was earlier downloaded from AirWave with part number R1Q04A. This process is called Offline Migration. Offline Migration is also called as the Inplace Migration. The user need not have the AirWave server up and running for an offline migration.
Offline migration is required when the user wants to deploy Aruba Central (on-premises) on the same AirWave server. The advantage of offline migration is that the user can bring in all the devices to Aruba Central (on-premises) from AirWave with a single operation.
In offline migration, the Aruba Central (on-premises) is installed on the servers where the AMP is operational.
The minimum supported version for the migration is AirWave 8.2.8.2.
Follow these steps to migrate your data using offline migration:
- Log in to your Aruba Central (on-premises) account as an administrator.
- Click the page icon.
The Account Home page is displayed.
- Click > .
- Click the tab to display the Migration page.
- Click in the AirWave Migration table.
The Add Migration page is displayed.
- Select the Offline Migration option.
- Browse to the location to choose the migration file that was downloaded from AirWave.
- Click .
In the Airwave Migration table of the Migration page, only ![]() icon is available corresponding to the offline migration entry.
icon is available corresponding to the offline migration entry.
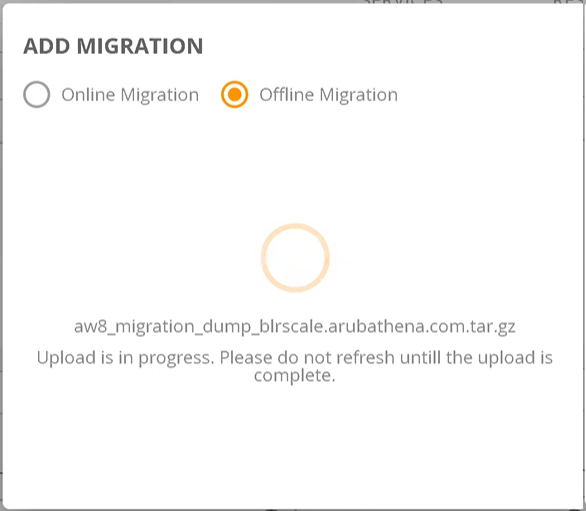
When the upload is in progress, you must not refresh the page.
Validating the Migration Process
After you click on the migration window, the migration process starts. If multiple AMPs are added, each AMP will be migrated sequentially one after another.
The following figure shows the main components of the Migration page.
Figure 3 Screen Capture of Offline Migration 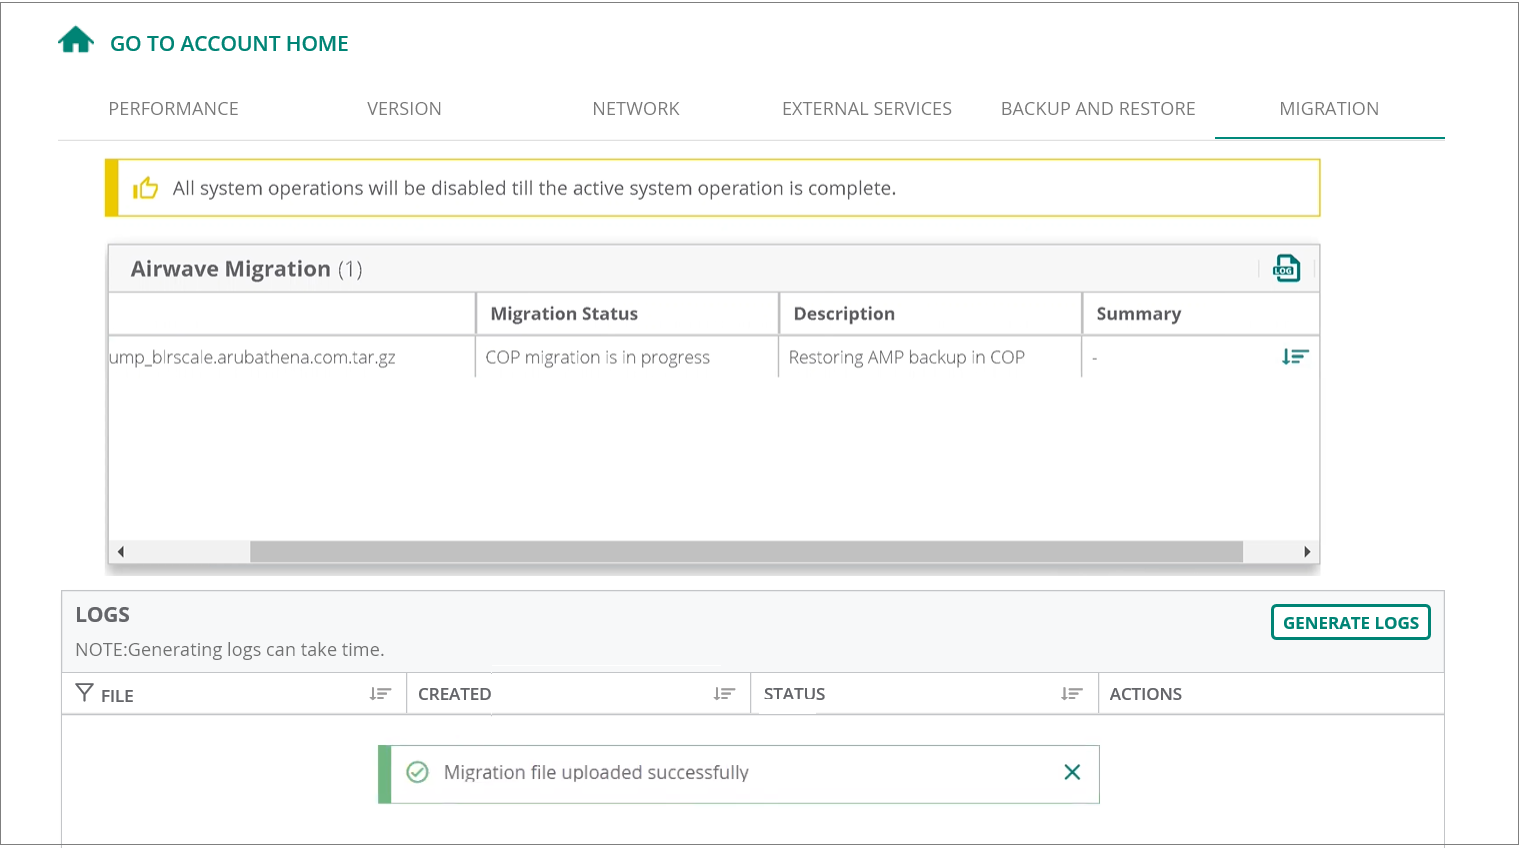
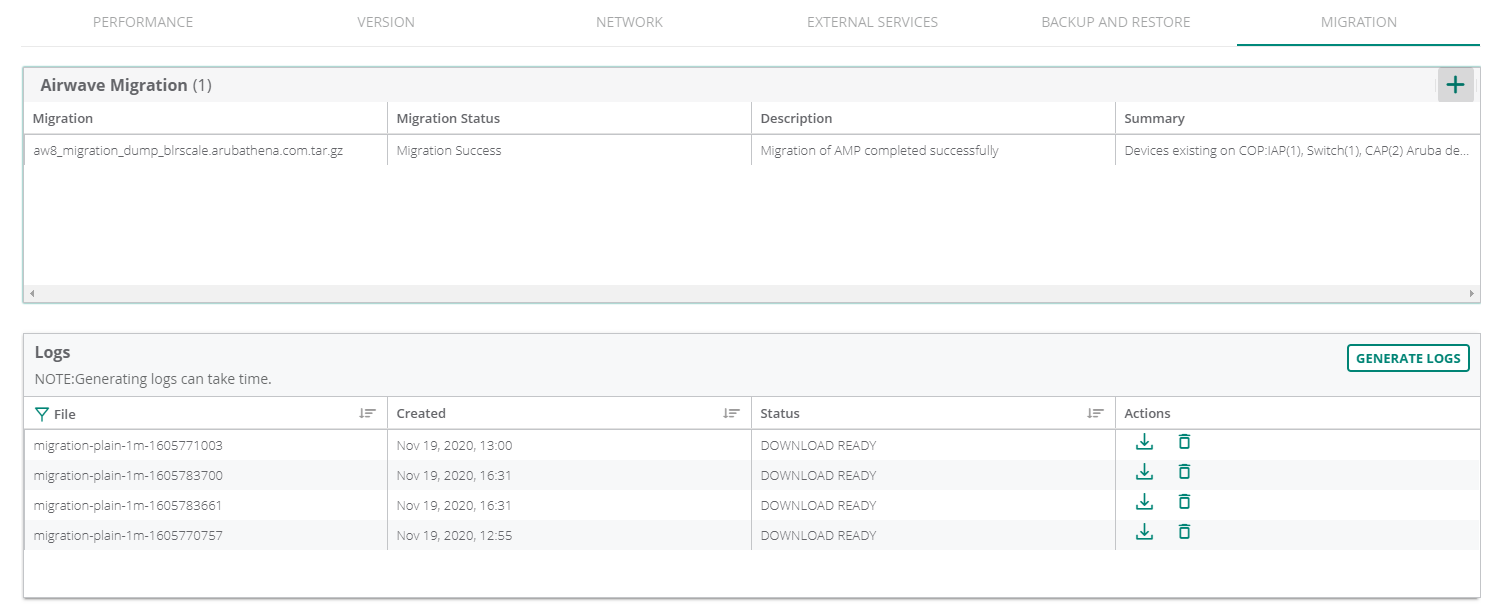
Figure 4 Screen Capture of a successful Migration.
The default time out period for the backup process during the migration is .
During the migration process, a fresh AMP back up is created in Airwave 8.x and transferred to the Aruba Central (on-premises). The scheduled nightly backup is not performed as a part of the migration process.
Logs
The table displays all the logs related to the migrations that are either complete or failed.
You can create or generate the log files in one of the following ways:
- In the > Migration > Logs table, click to create the log files.
- In the > > Performance > Service Monitoring table, select the deployment service and click the
 icon.
icon.
The log files that are generated contains the cumulative data of all the AMP migrations.
You can veiw the device migration POD logs from the Aruba Central (on-premises) backend or from the UI.
The VisualRF migration POD logs are available in one of the COP cluster node and can be viewed in the /var/log/visualrf path.
Figure 5 Log File

The table displays the following columns:
|
Name |
Description |
|
|
The name of the log file that is generated. |
|
|
The date and time when the log file is created. |
|
|
Indicates the status of the logs that are generated. The status indicated is , , , or |
|
|
Enables you to perform the following actions:
|
Migration Status
Following is a list of migration status displayed in the Airwave Migration table:
- Waiting to start migration
- Migration Stopped
- Migration Started
- AW8.X generating migration dump
- AW8.X migration dump is ready
- COP migration is in progress
- Migration Success
- Migration Failed
Migration Descriptions
Following is a list of migration status descriptions that are displayed during the migration process under the description heading of the migration table:
- Migration of AMP not started
- Starting migration of AMP to COP
- Connecting to AMP
- Could not establish connection to AMP
- Could not prepare backup on AMP
- Waiting for AMP backup to be prepared
- AMP backup not prepared after 2 hrs, please check AMP logs
- AMP backup is ready for download from AMP
- AMP backup is being downloaded to COP
- AMP backup download failed
-
AMP backup downloaded successfully
- Restoring AMP backup in COP
- AMP version not supported for migration
- Migrating devices to COP Migrating profiles to COP
- Checking for VRFVisualRF. VRF is an AirWave Management Platform (AMP) module that provides a real-time, network-wide views of your entire Radio Frequency environment along with floor plan editing capabilities. VRF also includes overlays on client health to help diagnose issues related to clients, floor plan, or a specific location. data to migrate VRF migration in progress
- Migration of VRF data failed VRF
- Migration did not complete after 2 hrs, please check the VRF logs
- Migration of AMP completed successfully, VRF data not found
- Migration was terminated abruptly, please retry migration
- Migration of AMP completed successfully
- Exception occurred during migration, please check the logs
- Another system operation is active, retry after sometime
