
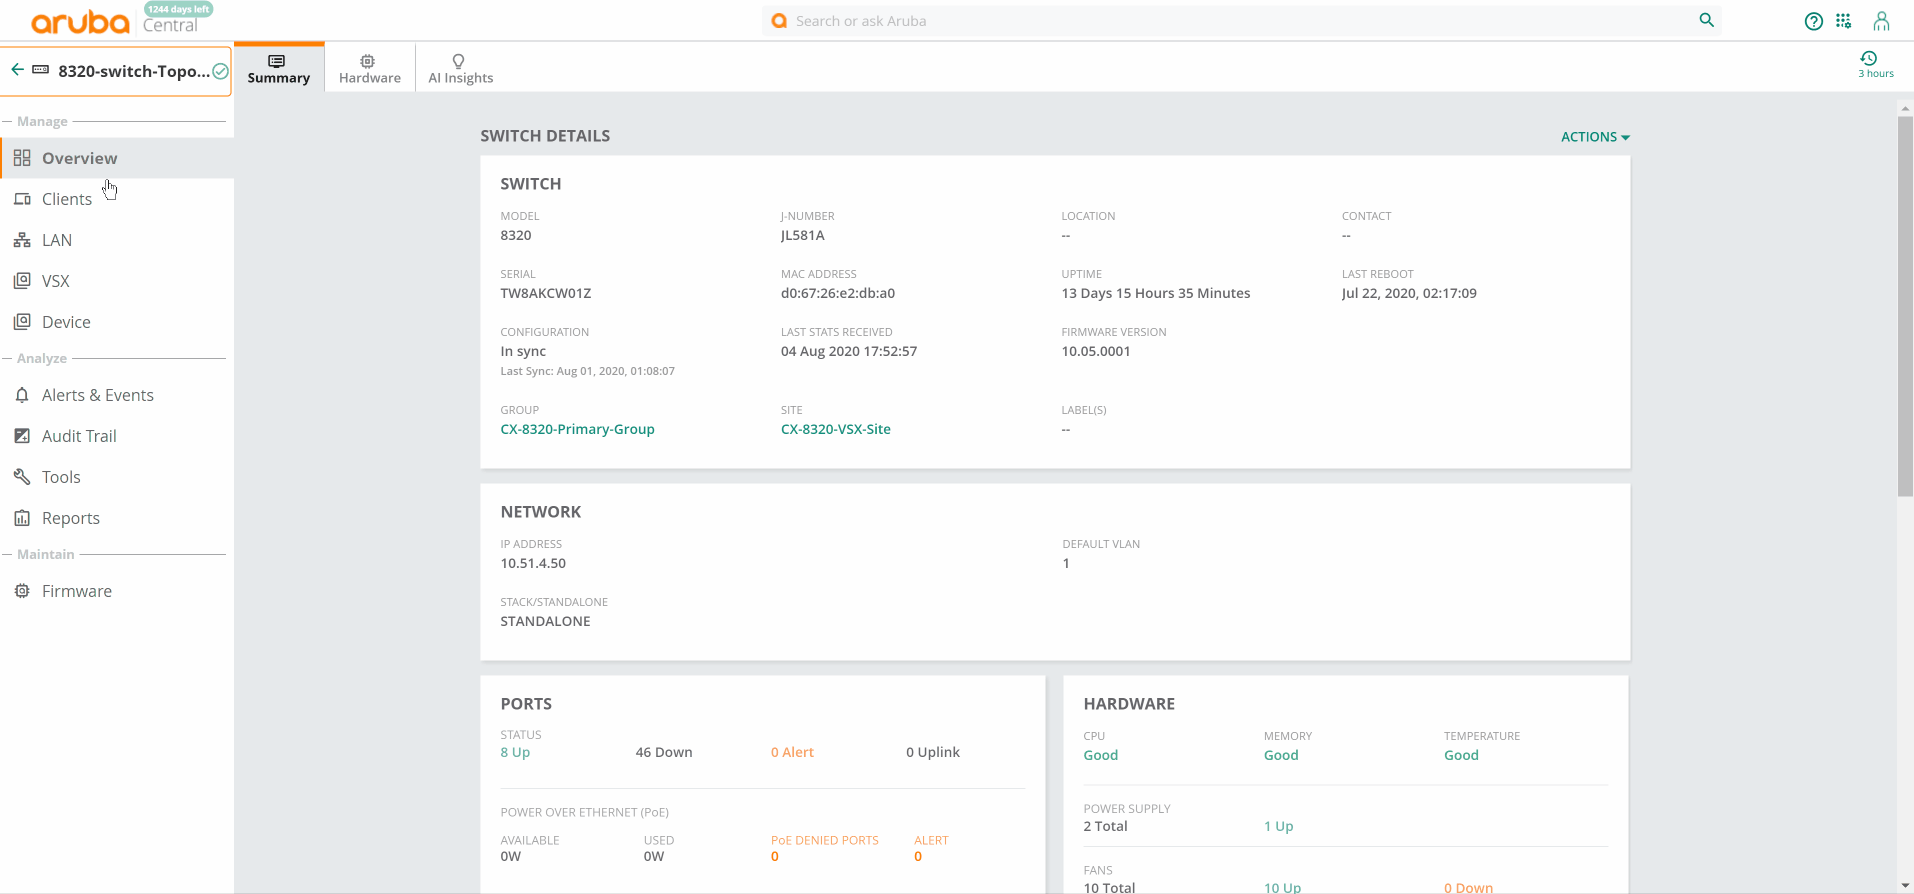
Switch > LAN > Ports
In the switch dashboard, the tab displays details about ports and the LAGs configured in the switch.
The tab displays the following details:
Viewing Port-Level Information
Viewing the LAN > Ports Tab
To navigate to the tab in the Switch dashboard, complete the following steps:
1. In the app, set the filter to one of the options under , , or . For all devices, set the filter to . Ensure that the filter selected contains at least one active switch.
The dashboard context for the selected filter is displayed.
2. Under , click > .
A list of switches is displayed in the view.
3. Click a switch listed under .
The dashboard context for the specific switch is displayed.
4. Under , click > .
The tab is displayed.
5. To exit the Switch dashboard, click the back arrow on the filter.
You can change the time range for the tab by clicking the time range filter and selecting one of the available options: , , , , or .
The following animation provides an overview of the tab:
Port Status
The section displays the total number of ports for the following:
Up—Ports in up state
Down—Ports in down state
Alert—Alerts generated
Uplink—Number of uplink ports
Faceplate
If the switch is a standalone switch, the faceplate of the switch is displayed. For a switch stack, faceplate of all the switches part of the stack is displayed. From the faceplate, click on the port to drill down and view port-level information. On the switch faceplate, hover over a port to view the following details:
Port
Name
Type
Speed
LAG
Reason (Applicable only to Aruba CX switches)
Ports
The table displays the following details:
—Port number. Use the column filter to search for a particular port and use the sort option to sort the ports in ascending or descending order.
—Name of the switch.
—Status of the switch. Use the column filter to filter by status.
—Type of switch port. Use the column filter to filter by type.
—MTU size of the switch.
—Port speed of the switch.
—If the port is part of a trunk group or LAG, the name of the trunk group or LAG is displayed.
—Admin status of the switch.
-MAC address of the switch.
—VLAN ID of the port.
—VLAN mode of the port. Supported values are or .
—Native VLAN ID of the port.
—Indicates the reason when the switch is down. This field is displayed only for Aruba CX switches.
LAGS
The LAGs table displays the list of LAGs along with the following details:
—Name of the LAG. Use the sort option to sort the LAGs in ascending or descending order.
—Number of uplink ports in the LAG and their port numbers.
—Number of downlink ports in the LAG and their port numbers.
—Indicates whether VSX is enabled or disabled in the LAG. This column is displayed only for Aruba CX switches.
Viewing Port-Level Information
Use one of the following options to navigate to the port and view port-level information:
In the switch faceplate, click on the port number.
In the Ports table, click the port number.
The port-level information page consists of the following sections:
—The section displays the following details:
Operational status
Admin status
Type of port
Description
MAC Address
Name
Untagged VLAN
Tagged VLAN
Trunk group
Usage In
Usage Out
—The section provides a graphical representation of data received and transmitted by the port. Each line in the graph is a sum of the received and sent traffic for a given uplink port.Hover over the graph to view data for a particular time of the day.
—The section provides a graphical representation of the interface frame counters. From the drop-down, select one of the following options:
Actions
The tab displays the various options available for remote administration of the switch. The following options are available:
—Reboots the switch. See Monitoring Switches and Switch Stacks.
—Allows the administrators to generate a tech support dump for troubleshooting the device. See Monitoring Switches and Switch Stacks.
—Opens the remote console for a CLI session through SSH. Ensure that you allow SSH over port 443. The default user ID is admin, but you can edit and customize the user ID. This custom user ID must be mapped to the device. See Monitoring Switches and Switch Stacks.
|
|
For Aruba CX 8320 and 8325 switch series, you must enable SSH server on the default VRF. Add the ssh server vrf default code to the template. If the Copy and Paste function from the keyboard shortcut keys (CTRL+C and CTRL+V) do not work in your web browser, use the Copy and Paste functions available under the menu options in the web browser. |
